
How-to
How to Install PVC Ceiling Panels: A Step-by-Step Guide
PVC ceilings are one of the most DIY-friendly ceiling systems available. Follow these steps for a neat, professional result.
By MH Creative Building Supplies · · 7 min read
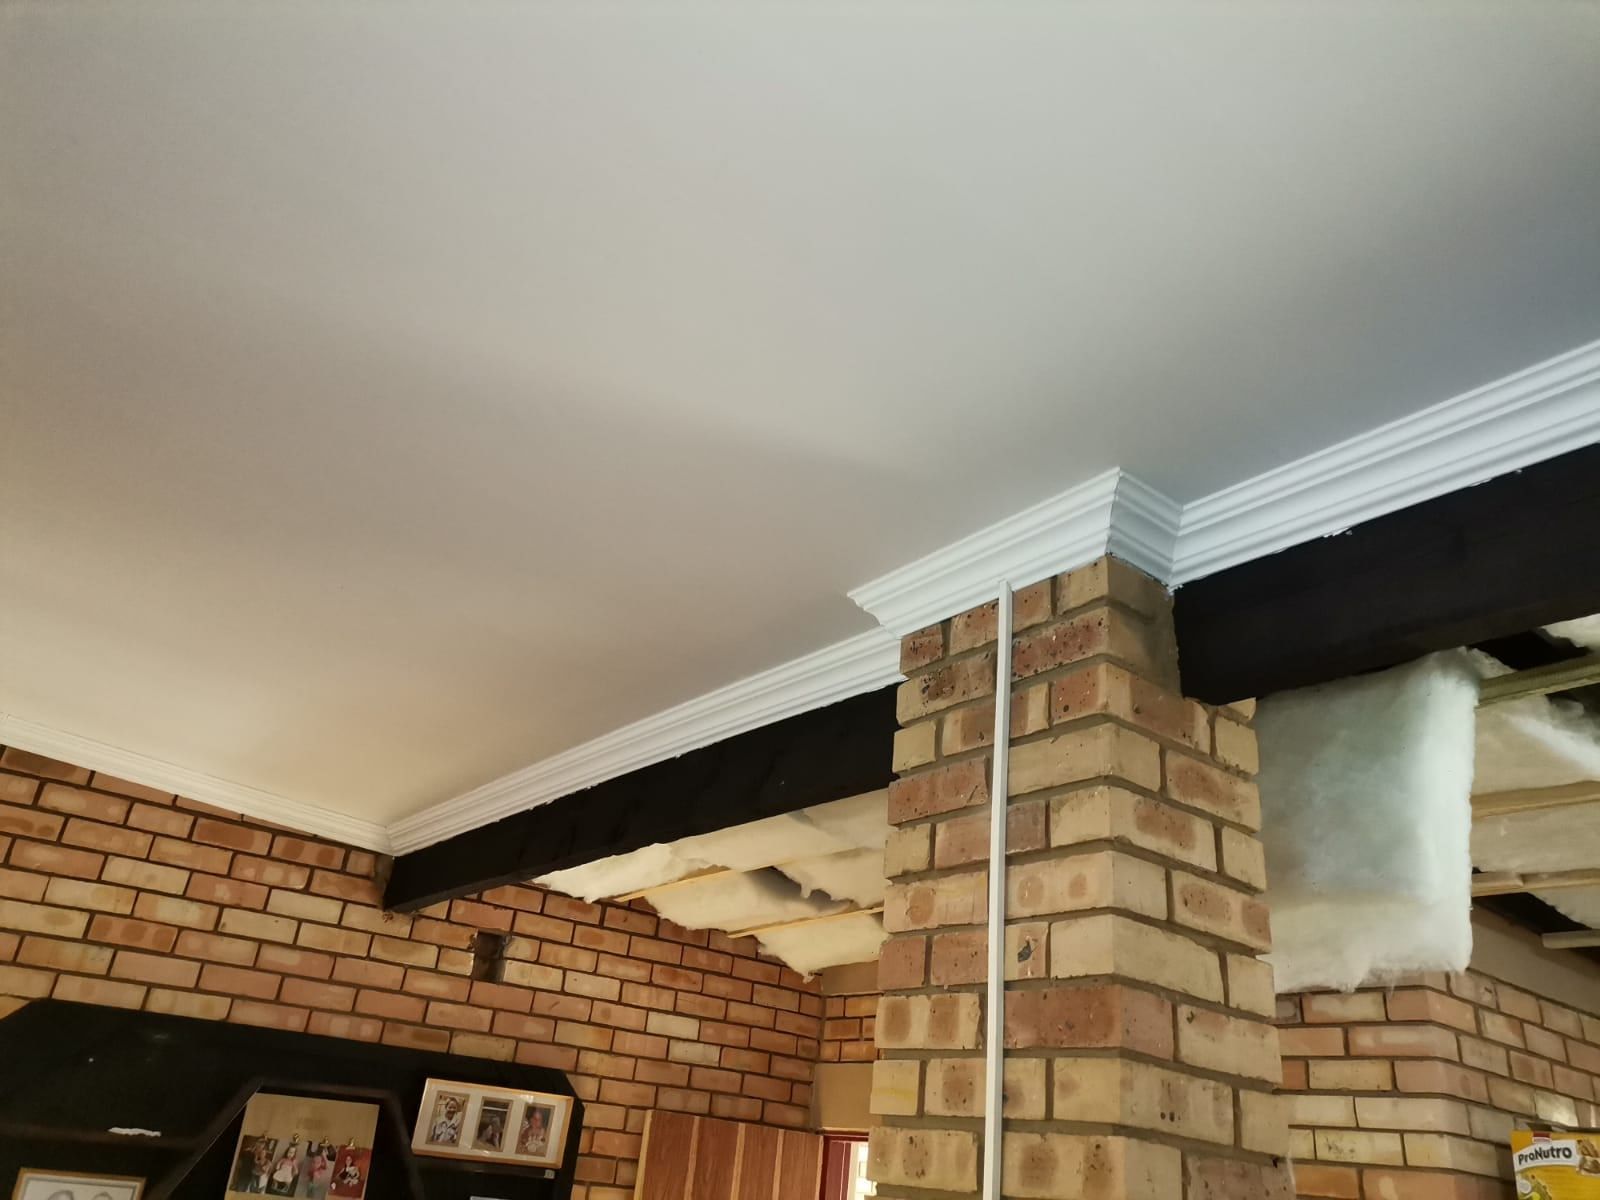
PVC ceilings are lightweight, need no plastering or painting and use a simple tongue-and-groove system, which makes them one of the easiest ceilings to install yourself. This guide is based on the manufacturer’s installation instructions — download the full PVC ceiling and wall panel installation guide (PDF) to keep on site.
Tools and materials
Materials
- PVC ceiling panels (250 mm or 300 mm wide, cut to your room length)
- PVC cornices (top corners) for the wall edges
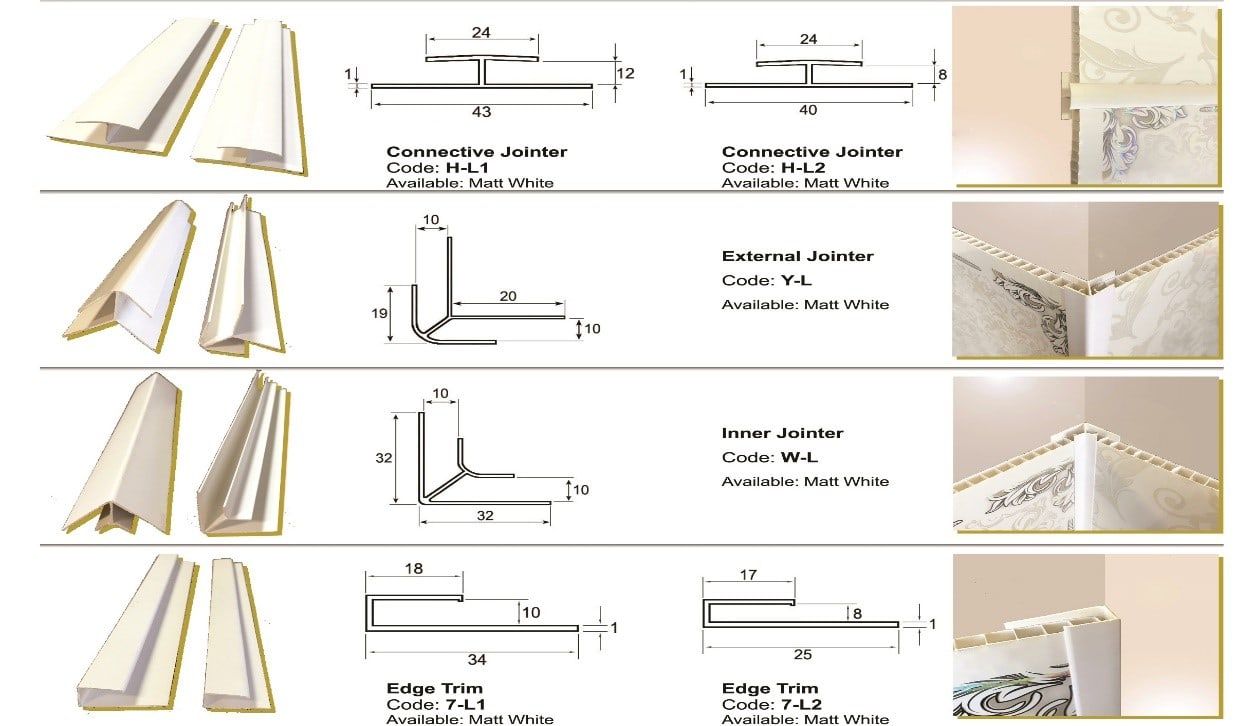
- PVC H-jointers, end trims and internal/external corners as needed
- Treated timber brandering (about 15 × 50 mm) or galvanised steel profiles
- Plastic wall plugs and wood screws (3.5–4 × 50–60 mm) for fixing brandering to masonry
- Self-tapping screws for fixing the panels
Tools
- Tape measure, pencil and spirit level (or laser level)
- Drill/driver
- Fine-tooth hand saw, jigsaw or circular saw for cutting panels to length
- Sharp utility knife for trimming panels lengthwise
- Ladder or scaffold, and safety glasses
Before you start
- Check your panels. Make sure all panels and profiles are the right lengths and come from the same batch, so the colour matches.
- Sort out electrics first. All wiring for lights and fans must be in place and properly fixed before the panels go up.
- Mind the heat. PVC ceilings are for indoor and covered areas only. Keep them out of direct sunlight and away from anything that heats the ceiling above 60°C.
- Damp or uneven ceilings need a new framework of treated timber rather than fixing straight to the old surface.
Step-by-step installation
- Clean and measure. Clean the ceiling area and measure the room so you know how many panels you need. If the last panel would be very narrow, cut the first panel down so both edges are a similar width.
- Fix the brandering. Fix timber or steel brandering (20–30 mm thick) around the edges of the ceiling first, then across the ceiling at a maximum of 400 mm apart — 250–300 mm for a firmer finish. Make sure the whole framework is level.
- Fit the cornices. Screw the PVC cornices (top corners) onto all the walls, just under the framework. These hold the panel ends and give a clean edge.
- Install the first panel. Slide the first panel into the cornices with the groove side facing the direction you’ll work in. Check it is perfectly straight, then fix the lip (notch side) to each batten with a self-tapping screw, flush with the groove.
- Click in the next panels. Clip the tongue of the next panel into the groove of the first, tap it home with the palm of your hand for a tight joint, and screw through its lip. Don’t move on until each panel sits correctly. Repeat across the room.
- Fit the last panel. Measure the remaining gap, cut the panel lengthwise with a sharp utility knife and ease it into place.
- Finish off. Fit any trims and corner profiles, cut openings for downlights, and wipe the ceiling down with a soft cloth.
Common mistakes to avoid
- Brandering too far apart. Over 400 mm and panels can sag between supports.
- Over-tightening screws. Tighten until flush with the groove; over-driving can crack the lip.
- Mixing batches. Small colour differences between batches show up on a large ceiling.
- Harsh cleaners. Never use abrasive pads or solvents on the finished ceiling — mild soapy water is all it needs.
- Strong roof-space winds. In open roofs with high back-pressure, add extra screws or a bead of silicone in the groove on the back of the lip.
Need help?
We supply complete PVC ceiling kits — panels cut to length plus cornices, trims, insulation and LED downlights — and we’re happy to talk you through your project. Visit our PVC ceilings page or request a quote.